The Email Queue List is sub divided into five sub-sections:
– Insert Email Queue
– Email Queue Address
– Fetch Type
– Department
– Registration Required
Insert Email Queue: This option allows you to insert a new Email Queue into the system. The option when clicked shall forward you to the Insert Email Queue section of the the Admin CP which has been explained in further detail in the latter part of the manual.
Email Queue Address: Displays the email address which has been added as an Email Queue Address.
Fetch Type: Displays the method using which the Mail Parser fetches the new emails into the system.
Department: Displays the department to which the added Email Queue has been assigned to.
Registration Required: Specifies if the Client needs to be a Registered user to use this Email Queue or not.
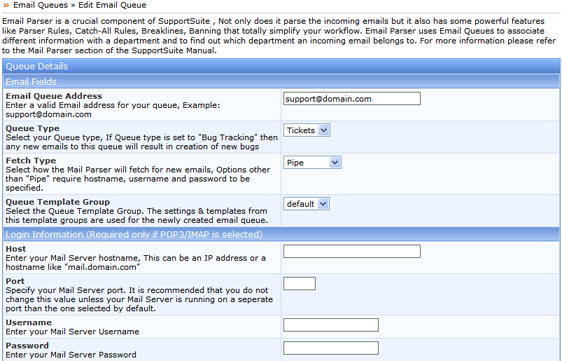
Edit: The edit feature allows one to update the added Email Queue.

Once you have updated the Queue, click on the ‘Update‘ tab to save the changes.
Delete: The delete feature allows you to delete an Email Queue from the system.
Quick Search: You can use the quick search feature to filter a specific Email Queue from the list. You can search the list using the complete or a part of the Email Queue Address.
Options: The options feature has been sub-divided in 3 sections:

Advanced Search: The advanced search feature allows you to search the list for a specific Email Queue by its Email Queue Address, Ticket Priority, Ticket Status, Department or Host.
Settings: The settings tab allows you to choose the number of Email Queues the software should display on one page.
All the three Options sections will automatically appear when one or more than one Email Queues in the list are selected.
SupportSuite allows you to sort the list as per Email Queue Address, Fetch Type, Department or Registration Required. Click on either of the four options to choose an appropriate view type for your Queue list. It further provides you an option to sort the list in the ascending as well as the descending order.

An arrow pointing downwards next to the chosen option suggest the list is sorted in the ascending order while an arrow pointing upwards suggest the list being sorted in the descending order.