Now that you have uploaded the new files onto your server, it is now time to set the correct permissions for specific files and directories. You now need to change the permissions of the directories “cache” and “files“. The software set up script will not run if the directory permissions are not changed. Assuming you are yet connected to your server via FTP, select both the directories, right click on them and change the attributes to ‘777‘ (non-windows server) using the chmod command.

Running the Upgrade Script
We shall now run the upgrade script to upgrade your existing build. With the newest files uploaded to your web server, you can now proceed to run the upgrade script. To do this, point your web browser at http://www.domain.com/esupport/setup/, replacing www.domain.com with the correct URL to your own eSupport/LiveResponse/SupportSuite installation.
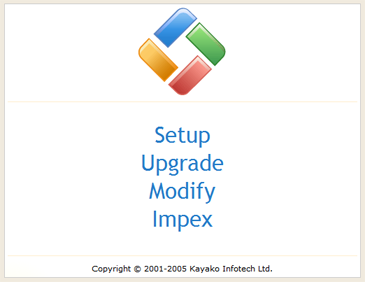
On running the setup script, it shall lead you to a page with four set up options:
– Setup
– Upgrade
– Modify
– Impex

Since we are upgrading our existing build, we need to choose the ‘Upgrade‘ option. On clicking on the Upgrade option, the software will forward you to the License Agreement page. It is important that you read and understand the License Agreement before proceeding. Once read, you can now click on the ‘I Agree‘ tab to proceed with the upgrade.

On clicking the I Agree tab, the software shall lead you to the product information page displaying all the necessary details. The page shall display the version you are upgrading to and the product version of your existing installation.

To upgrade you now need to enter your software Administrator login details in the text boxes adjacent to the Username/Password fields. The software will not run the upgrade script if the User does not have admin access. Once you have entered the requested information, click on the ‘Next‘ tab to upgrade the script.
On clicking on the Next tab, the software will auto upgrade your existing installation to the latest build.

On completion, the script shall display the success message ‘Your version is now up to date‘ at the bottom of the page. You have now successfully upgrade your product to the latest build.
To complete, it is now important that you now delete the setup folder to prevent any unauthorized re-installation of the software. Once deleted, you can start using the new build and explore the new features.